Showing posts with label Crafts/Projects. Show all posts

Tuesday, February 4, 2014

My Super Easy $5 Window Treatment

I wanted something simple and cheap for my bathroom window, but I didn't want to break the bank.    I have been playing around with burlap and getting ideas from Pinterest.   There were many people who made their own new sew curtains or valances.   This is my take on that idea.


I had a couple of yards of burlap.  All I did was measure my window's height and width.   I added about 6 inches to those measurements and cut my burlap. Many of the Pinterest people had either left their edges unfinished, or some of them used hot glue.   I don't like things to unravel very much, so I just took a needle and thread and very quickly did a simple stitch around the edges.  (I don't sew, so it wasn't a very straight stitch.) I folded one end of the burlap over that was enough to put my curtain rod through,  and I ran a quick, messy stitch across the width of the fabric.  I then hung the curtain up on the window.  

I took some wide burlap ribbon and threw them over the curtain rod and let it hang the length of the window. I wanted a splash of white to tie it in with my shower curtain, so I took some lace ribbon and hung it down the middle of the burlap ribbon.  


Then all I did was take a safety pin and attached the two ends of the ribbon and attached them at about the length that I wanted the curtain to hang.   I attached them behind the curtain so that it wasn't visible.   I then adjusted the folds at the bottom of the "shade" until I was happy with it.   This project took a little less than a yard of burlap $3.99 at Joanne's Fabric, lace ribbon that I had bought for $1 at Walmart, and some burlap ribbon that I had bought at Walmart for about $5.00.   There is still lots of burlap ribbon left for other projects, so I estimate that the entire window treatment cost me about $5 to make.  

I wanted to coordinate it with my new matelasse shower curtain, so I tied my shower curtain back with the burlap ribbon.  

Have you ever used ideas you found on Pinterest to create your own take on it?  I would love to hear your ideas!   

Monday, February 3, 2014

Bathroom Renovation: Before and After Pictures

The bathroom renovation project began on January 4, 2014 and I finished decorating today (except for a few items that haven't come in the mail.)  We are really pleased with the results!  

Before:  Light Fixture and Mirror


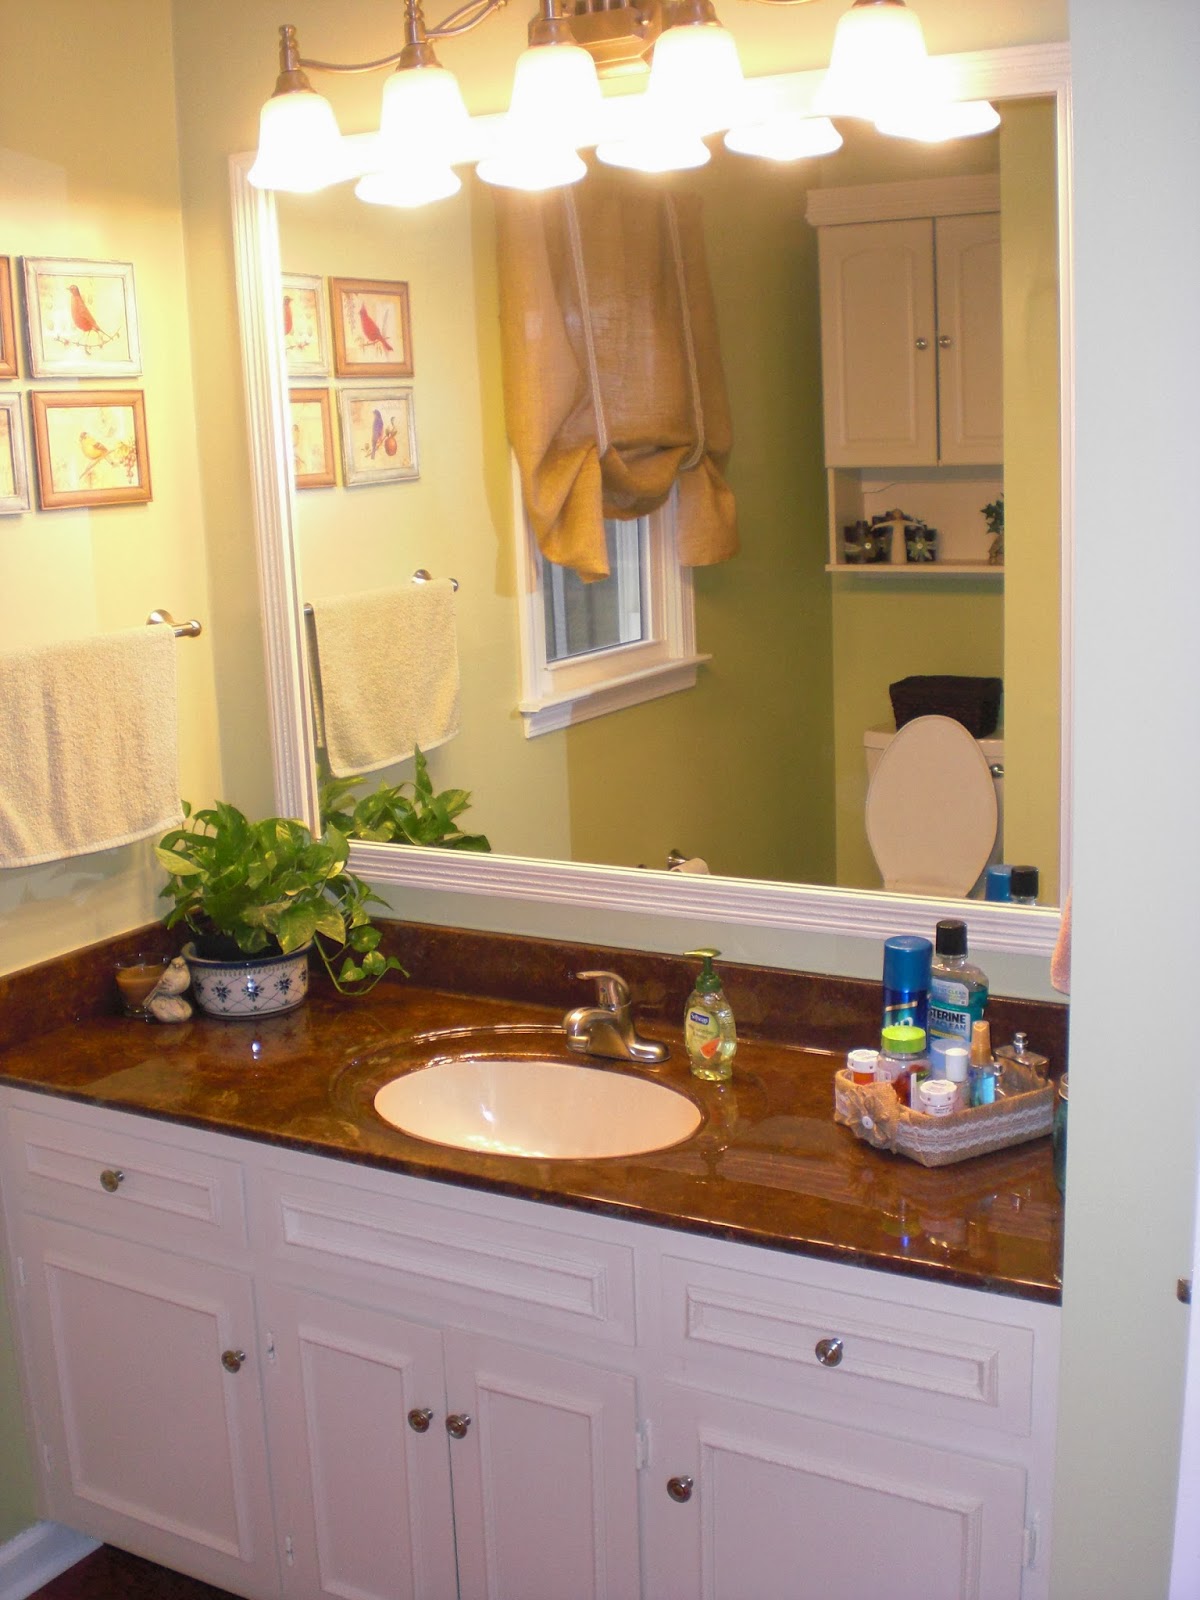
After:  Light Fixture and Mirror

Before: Vanity
After: Vanity


Before:  Vanity Close-Up 
After:  Vanity Close-Up

Before:  Toilet Area
After:  Toilet Area

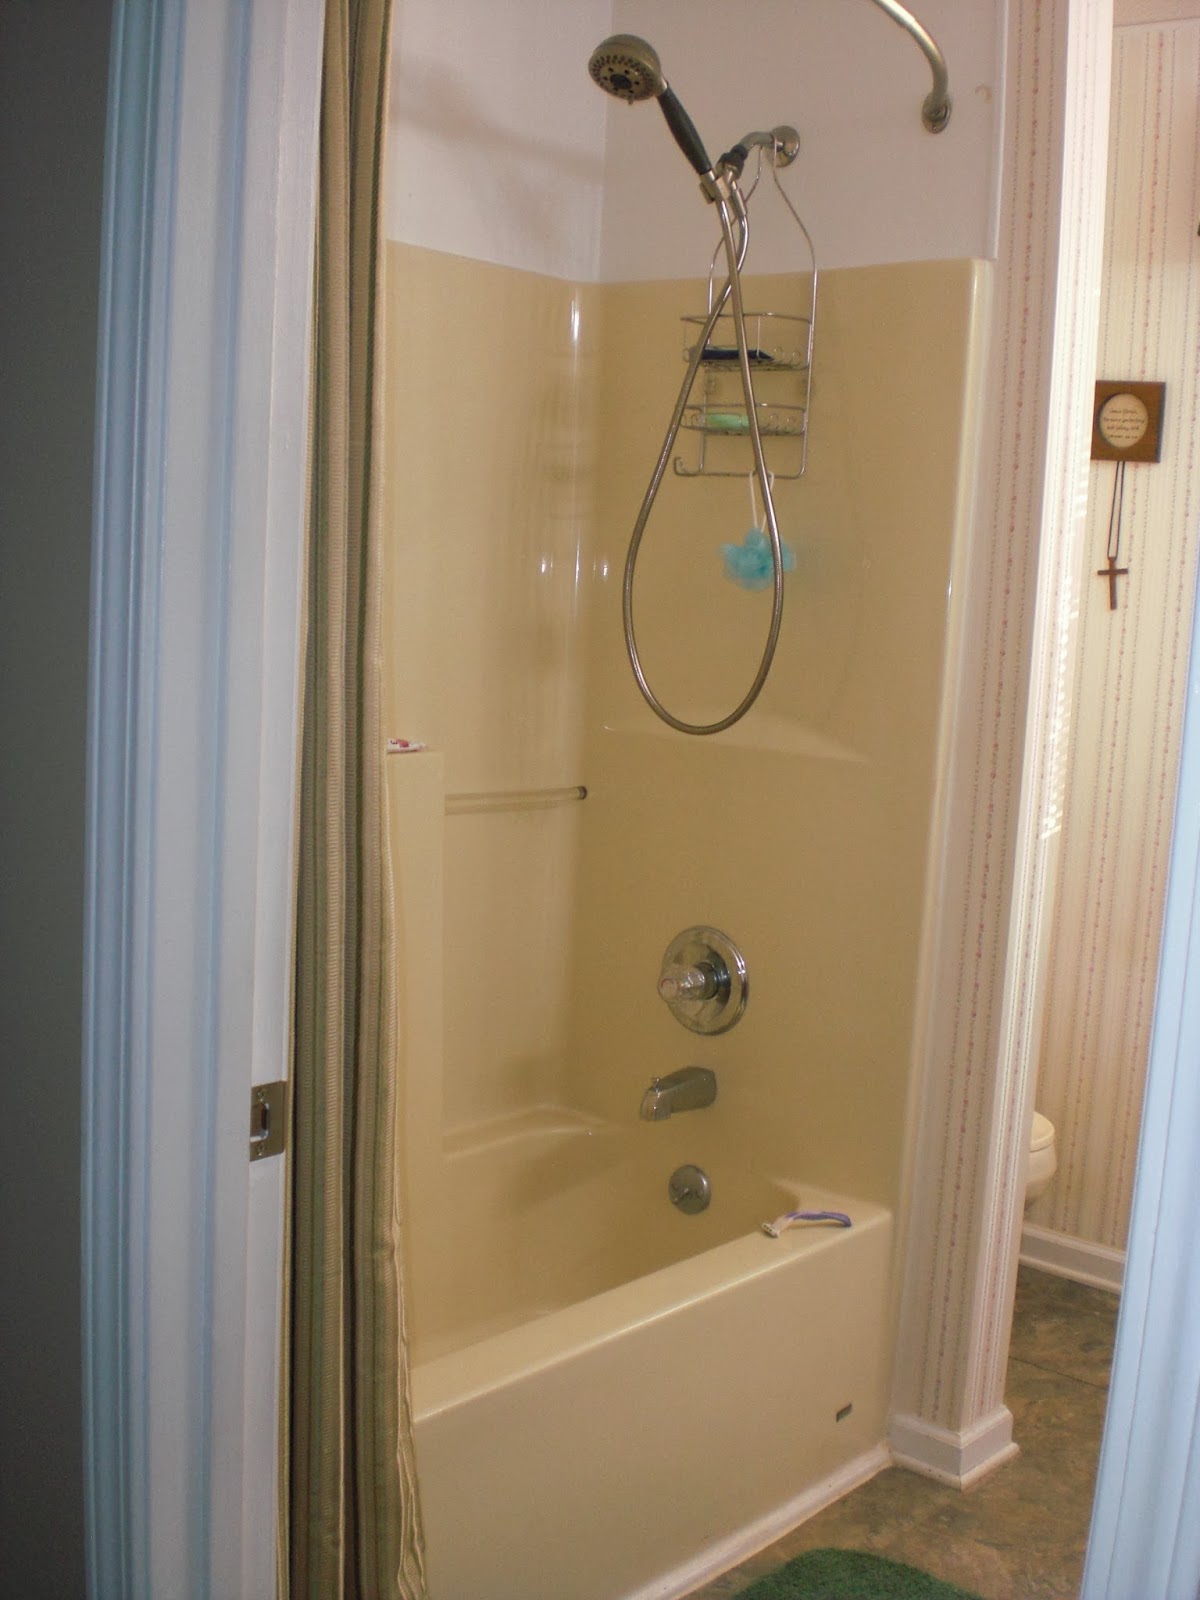
Before:  Shower/Tub Combo

After:  Shower/Tub Combo


Before:  View From Master Bedroom

After:  View From Master Bedroom
Before:  Mike Wood 
After:  Mike Wood

I couldn't resist that last before and after! :)  The before picture of my handsome honey was actually taken 30 years ago when we were dating.   Look at those eyes looking at me with such love back in 1984.  If he only knew then..... He still loves me, and I love him and think he is the sweetest, hunkiest, handyman husband in the world!  Hmmmm....I think I will start looking at Pinterest for kitchen makeovers......


Sunday, February 2, 2014

Bathroom Renovation: Days 18-22


When last I blogged on the bathroom renovation, Mike had the tile up on the wall with mortar and spacers and were waiting for it to dry.   It looked like this.


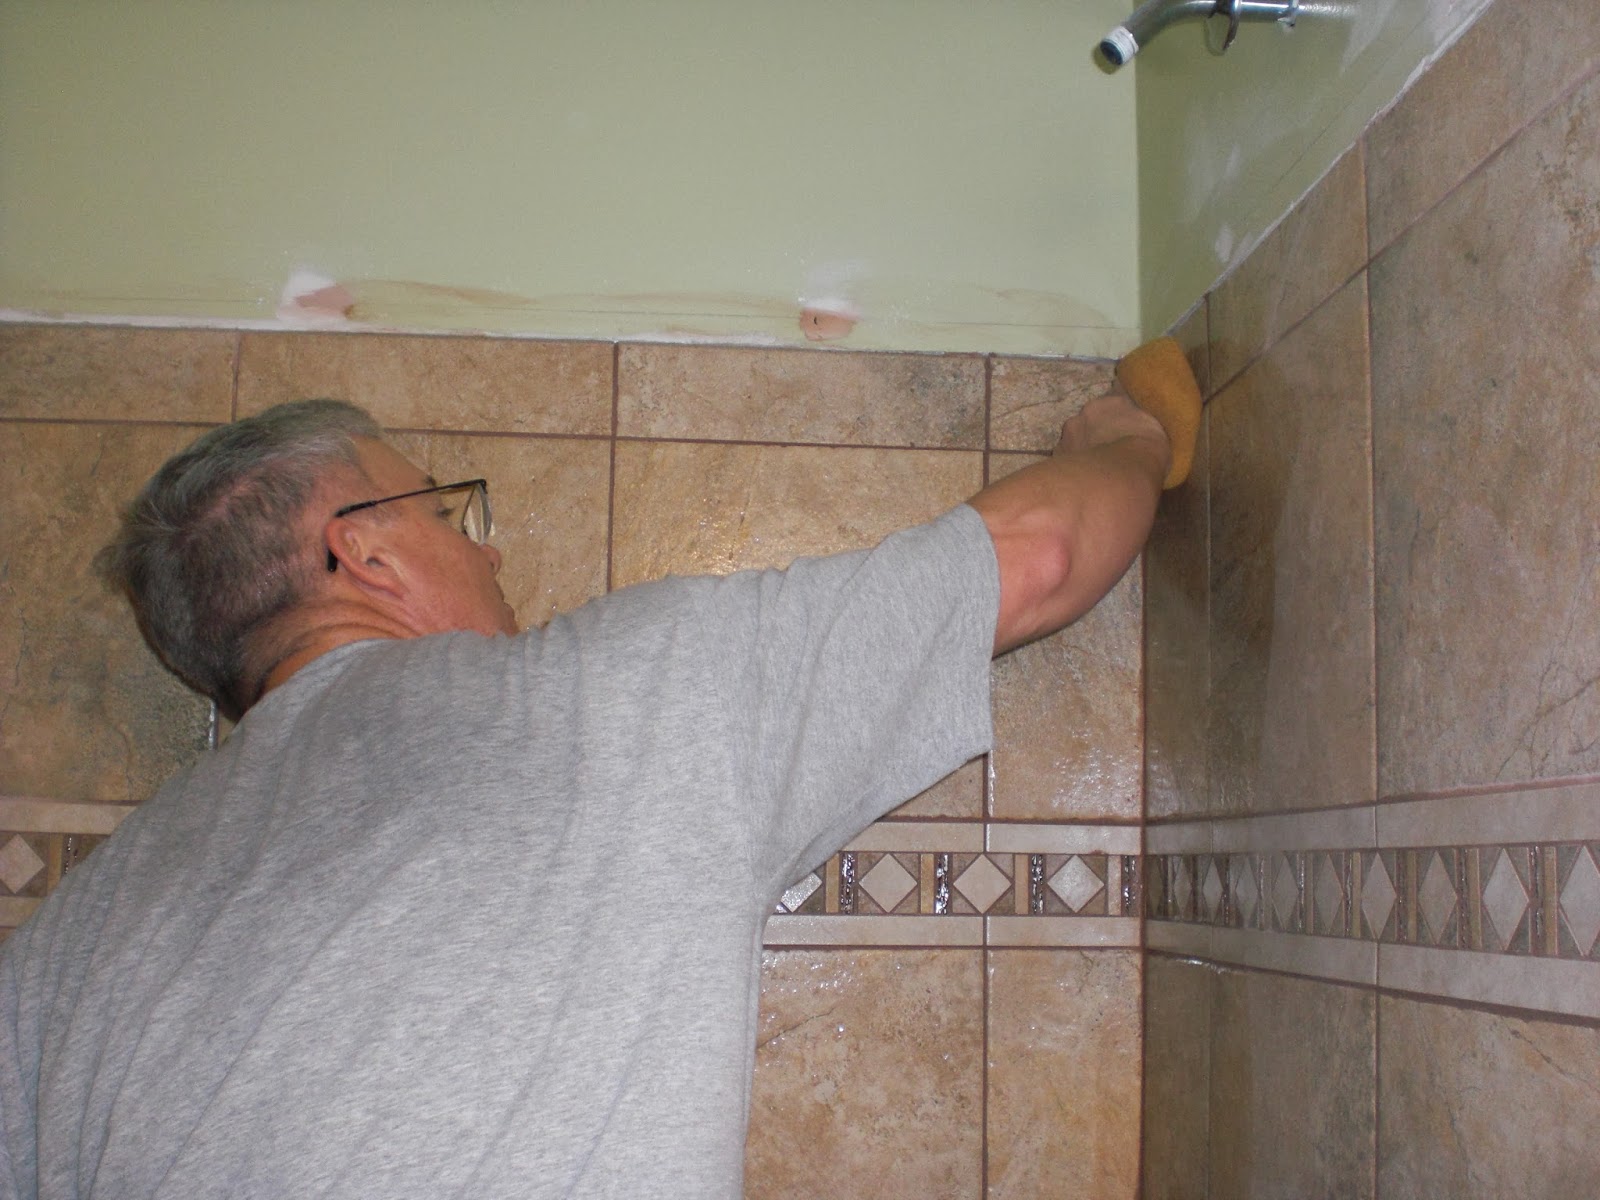
The next step was to grout.   When we were shopping Mike was impatient with me for taking so long to decide on a color of grout.  I was taking too long!  When all was said and done, he was grateful that I had taken my time and chosen a color very close to the color of the tile, because it hid some minor flaws.  I'm glad it all worked out :).


Mike cheering when he was finishing the last of the 
grouting.  He said it was very tedious.

Next step:  caulking....very messy.  


Mike is a hands on kind of guy.  He likes to feel
what he is doing, and the grout, silicone, cleaning, caulking
took a toll on his poor hands.  His hands are so raw, you
can't see his fingerprints on his index fingers.  
Finishing up the rest of the flooring.

Putting trim back up.  This job has
had Mike on his knees a lot! :). 

Almost done and he can't wait!  Last little touches of paint and caulk, and then paint again where he messed up a little bit. 

Are you ready for the bare bones, not decorated yet, reveal?  Here it is!!!


What do you think?   I am so happy with the results!  My husband is the best husband in the world!!  Poke a fork in him, because he is DONE with this project.   I'm thinking it will be a while before he wants to start on the kitchen :).   He has earned a well deserved rest....

In his recliner, rooting for Peyton and giving
me the "Don't ask me to do any more projects!"
look.  

Now it is my turn to start decorating!  Stay tuned for the next episode of Fixing Up Suburbia....


Friday, January 31, 2014

Dollar Store Redo: Gift Boxes Become Canisters

I love a bargain, and so I am constantly looking at the Dollar Tree for things.   I have been trying to challenge myself to not look at color, but to look at the form of something and see if it can be changed into something that I like.   The other day I picked up these gift boxes at the Dollar Tree.


I have been thinking about making canisters for my bathroom countertop for organizing q-tips, plackers(dental floss sticks) , and bandaids.  I saw these little gift boxes and they are about the right size, so I thought I would give it a try. 

I wanted knobs on the top, and so I glued three diet coke tops on the top of the boxes for knobs.  (Yeah..I know I wrote that blog a while back about quitting....disregard that. :).  


At first I started painting the boxes brown, but I wasn't happy with the coverage.  It did kind of have an interesting effect on it.  Like painting on aluminum foil. I had intended to spray paint the tops in brushed nickel, but I did on of the tops and didn't care for it either.    

I pulled out my trusty Oil Rubbed Bronze spray paint that makes everything look better and gave them a couple of good coats of paint.  Yes....I did get more paint on me than on the boxes :).   


I then experimented with different burlap and lace combinations and ended up with this...


I like the way that they turned out, but they don't make the cut for my new bathroom.  I want less fussy in the bathroom, so I think they will probably end up somewhere in my bedroom.   

Have you ever taken something from the Dollar Store and made something cool out of it?   Share your ideas with me!   

Wednesday, January 29, 2014

Bird is the Word! Dollar Store Redo


I've been crafting again!  I am ready for Spring and looking for stuff to put in my new bathroom once it is done.  I think I might want to put some birds in there.  At the Dollar Tree I found two birds.   I took a before picture of one of them....I guess I forgot to take the before of the other one....but it was equally cheesy.


First I painted each of them a solid color.  I painted one taupe and one sage green.   I used the paint samples that I bought when I was thinking about which paint to use in the bathroom.  


Then I added burnt umber colored paint to them both and wiped it off with a wet paper towel.   This gave it that antique look.

I think they turned out kind of cute.   

Compare my $2 birds to the ones from Wayfair for $97.50.   Who would pay that much?  I think these are bigger and meant to go in a garden.  I think mine are just as cute.


Or these $69.95 ones from Plow and Hearth.  I'm pretty sure these are also bigger than mine..  I do really like these.   

Made in America Cast Stone Baby Birds Garden Statues

Monday, January 27, 2014

I Will Be Crafty If It Kills Me

Something about turning 50 makes me want to be creative.   The problem is that I have never been very crafty.   I failed Elementary School Art. A BIG FAT F!!   Not many kids can say that....but I think I frustrated every teacher at Byrns Darden Elementary School.   If we did String Art, I would have a lob-molly that no one could unknot.   Pinata's would have more glue and tissue paper stuck on my hands than on the paper.   I tried so hard, but could never quite do what my mind could envision.  


Flash forward a few years and I am in college taking Teaching Art to Elementary School Children.   The Professor assured me that anyone can draw when I expressed anxiety over having to have a sketchbook.  I very carefully followed every direction that he gave me, and when I finally had a sketch book check he remarked, "Well....maybe your book work will bring your grade up."   Thank God that I am very good at studying from the book!

Ever since my birthday I want to try it again.  I enjoy doing crafts, I just rarely ever turn out anything that looks good.   Today I decided to try my hand at crackle painting.   I watched several tutorials on you tube. It seemed straight forward enough.  I stopped by the Dollar Tree on my way home and picked up some picture frames to try it on.   I have some birthday cards that I have been wanting to display in frames.  I haven't been able to find any white picture frames...so I decided to make my very own crackle paint frames.
I started with this..


I tried to sand it and ended up with this.

So...I decided to do this and then hot glue it.   I ended up
with a cut from the little metal thingys and a burn on my
thumb....but I keep trying.

I painted my base color gray.  I added glue, and when it
was tacky, I added a coat of white.   It was supposed
to crackle, but it never did.   I keep adding multiple coats and sometimes
wipe it off....paint some more, wipe some more.


It just didn't look good for a long time.   But I finally gave it a final coat and came up with something I think looks alright.   What do you think?   


I think it looks "distressed."   Maybe all of my art work looks "distressed."   Yeah....that's a good word for it....

Update:   Finished Product....